
This is one of the newest ways I have of making a quilt. You may be asking yourself, "What is a hand-tied quilt?" And I would then ask if you have ever seen a quilt with tied yarn holding it together? If so, that is a hand-tied quilt. I know "how" to make one, but I wasn't sure I "wanted" to make one. I was actually afraid that pulling that yarn through the quilt layers would tear my fabric. After watching this video, I was assured that my fabric wouldn't tear.
Now, in the video, the couple are hand tying a machine-pieced quilt. But I decided to use this technique on some of my pretty prints instead. Here is how my butterfly print turned out. Below that, you'll see my tutorial for using 3 different yarn colors to enhance the butterfly and to add more durability with more hand-tied yarn. Click on the images to enlarge the pictures and see more of the features on this beautiful quilt. If you have any questions, shoot me an email. I'm happy to help if I can.

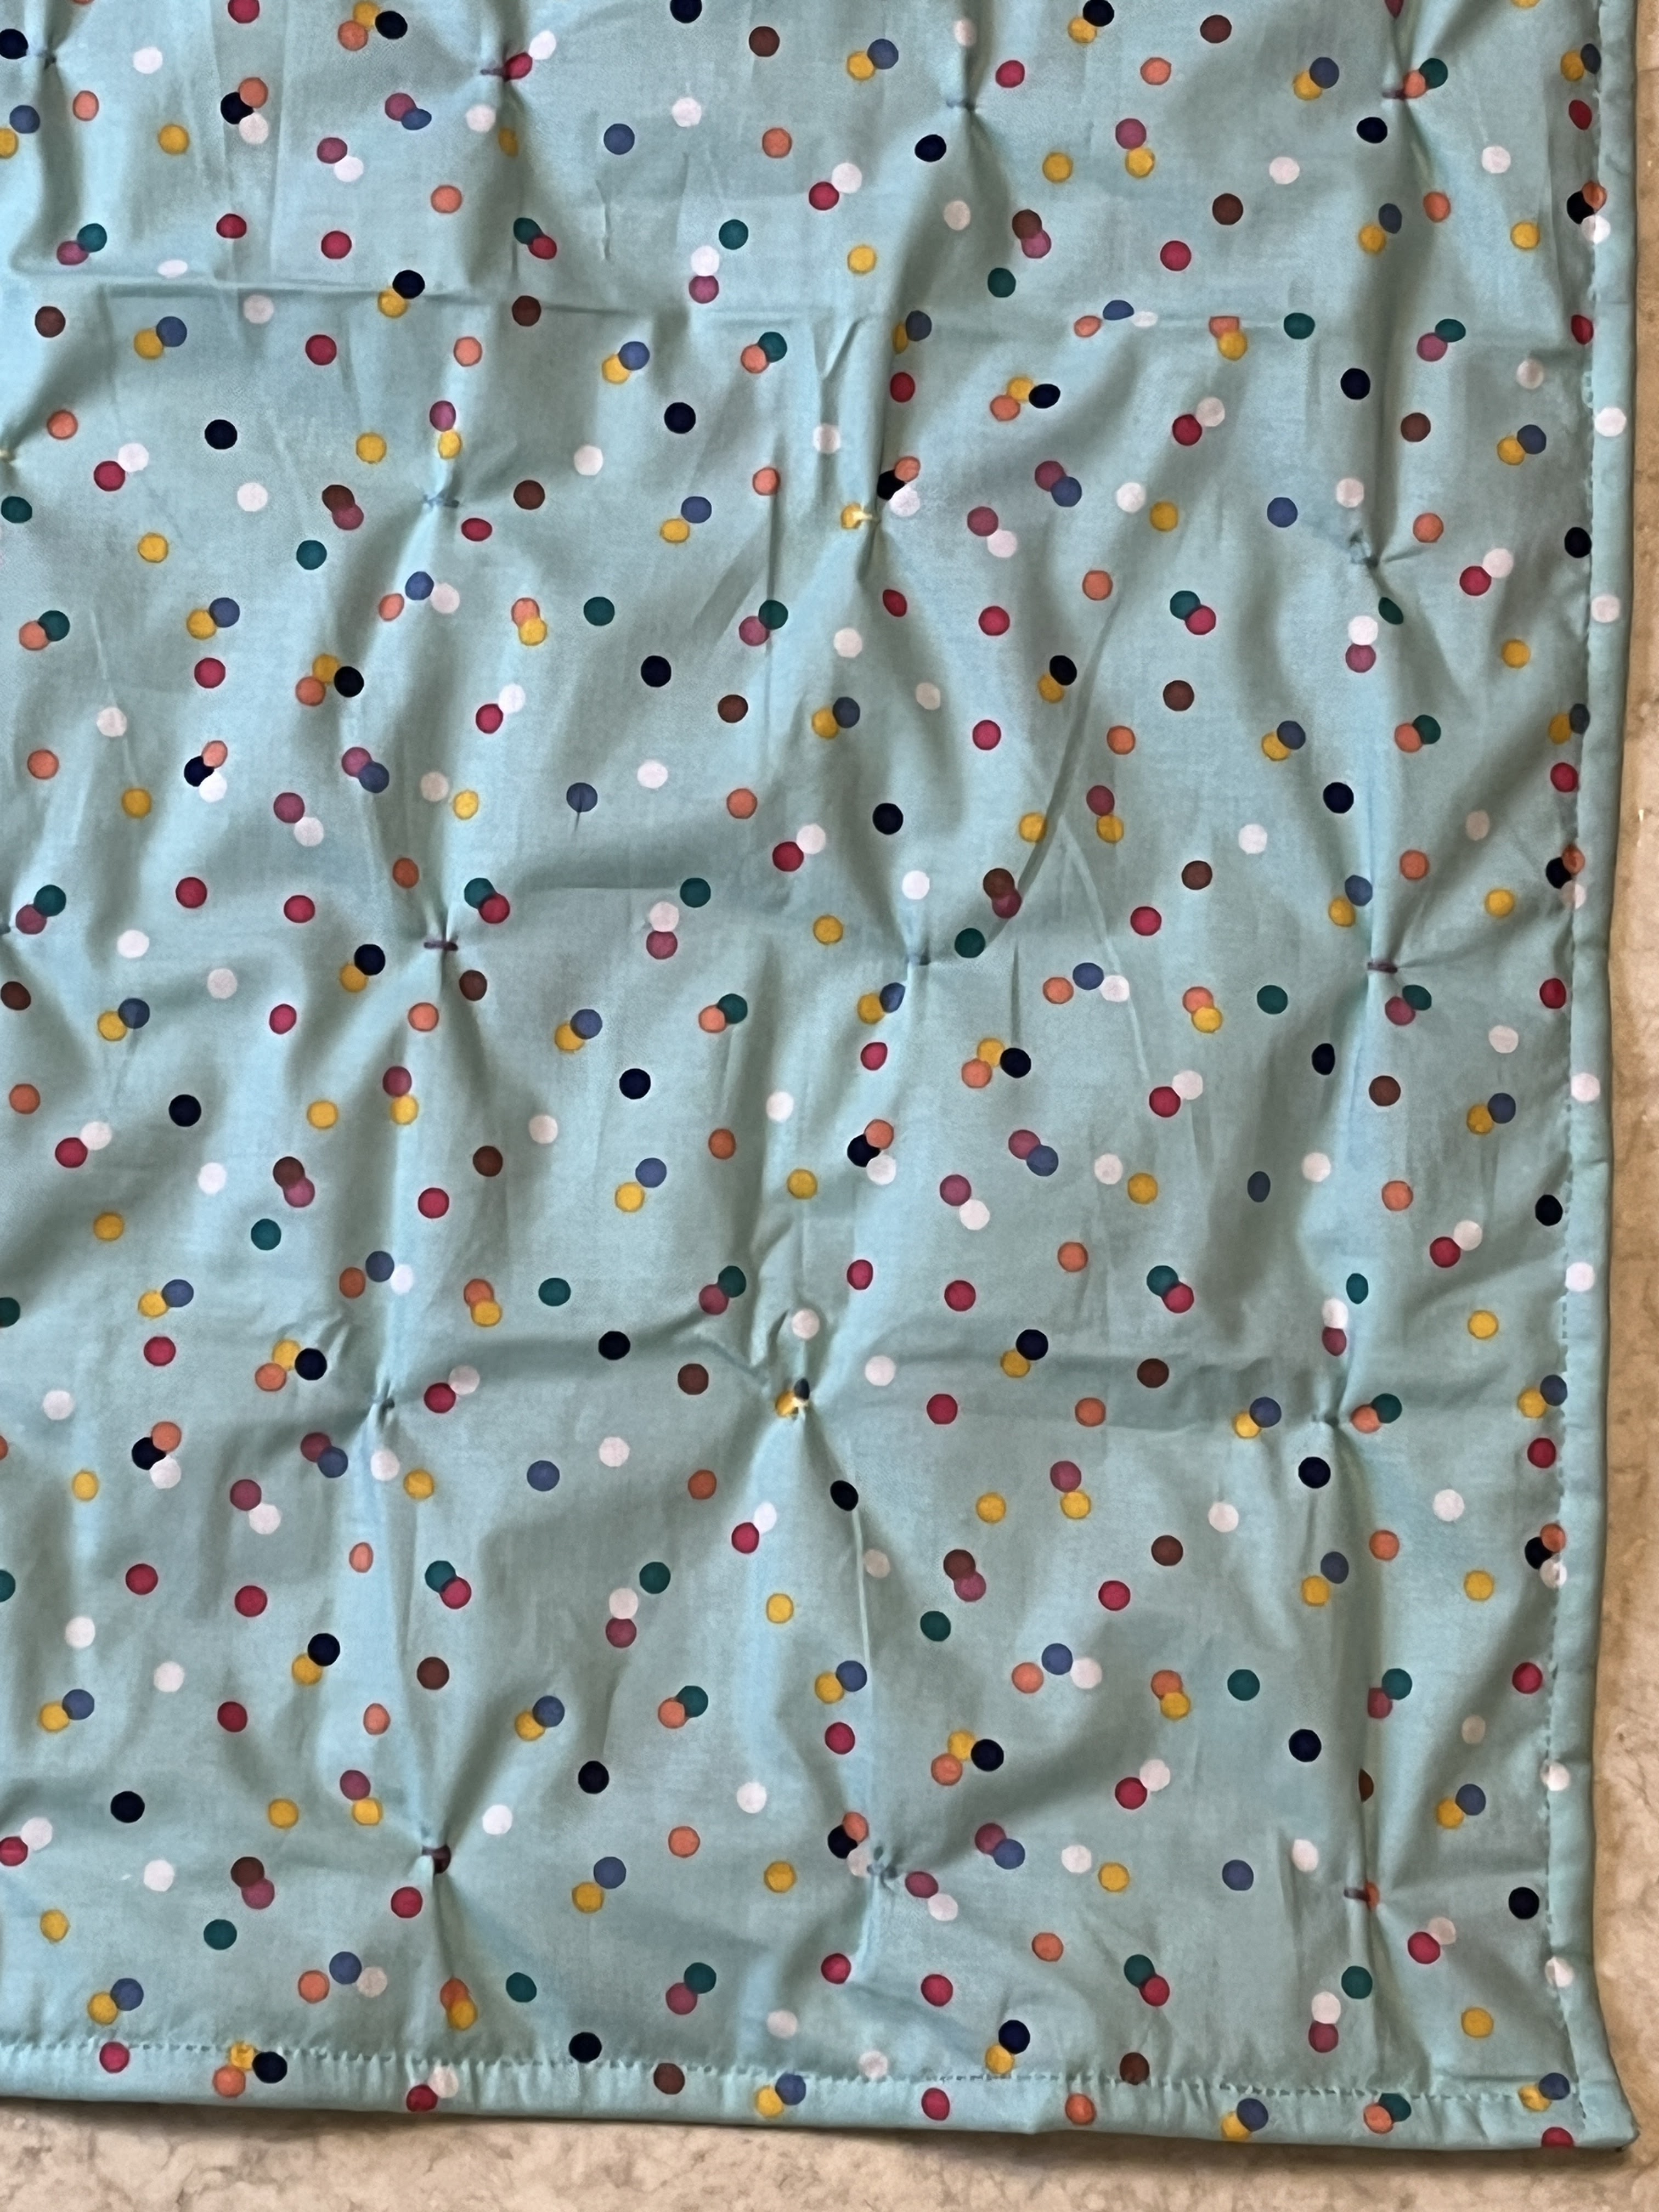
Hand-tied butterfly quilt

Front corner of butterfly quilt Back corner of butterfly quilt
How to Make a Hand-Tied Quilt
Read these instructions and look at the pictures carefully before attempting this quilting process. Watch the video link above as well as that will also provide helpful information. Start at or near the center of the quilt and work outward towards the edges. This keeps the layers securely anchored as you move from middle to outside. Coinciding images are beneath each step of the instructions below.
- You'll need a 12-inch ruler, yarn, scissors, a darning needle, and your sandwiched fabric and batting layered and basted, ready to quilt.

- First, you'll want to pull out plenty of yarn from the center of the skein. Three or four arm lengths will work great.

- Thread the yarn through the eye of the needle. Push the needle straight down from the front through the back of the layers, and come back up through the front about 1/2 inch from where you originally inserted the needle.

- Pull the needle and yarn through the fabric layers. Leave a 4 inch tail for tying later.

- Do not cut the yarn. Measure 8 inches straight across to where you will need to place the yarn.


- Once you reach the edge, cut the yarn so it will have another 4 inch tail.

- The yarn on the back will be a half-inch "stitch".

- Go back and measure 8 inches from that original, centrally located yarn, and start going in the other direction. This time, instead of stopping at the other side of the quilt, measure 8 inches down and start another row of stitches 8 inches below the first row. Continue this process all the way to the bottom and again all the way to the top. Always be sure you have enough to leave a 4 inch tail at the end of each line of yarn that you pull out of the skein.

- With scissor pointing up, away from the quilt, cut the 8 inch sections of yarn in half.

- Tie a knot in the yarn. Cut to 1 inch in length.

- For the second yarn color, start by centering (eyeball center will work) the second color in the center of 4 knots of the first color. Then follow the processes above to add the yellow yarn throughout.

- For this quilt, I used a third yarn color and simply centered the yarn between the first color and again between the second color - still 8 inches apart on each row between the other colors. With that completed, the knots are about 4 inches apart. There are alternating rows with color 1 and color 3 and alternating rows with color 2 and color 3.

- I tie my knots really tight; however, I still use the fray check on the knots as is instructed in the video at the beginning of this post. Just a dab will do. When it dries, it is kind of hard. But washing the quilt softens the glued knots once more.

Have a blessed day,
Patricia
Comments
Post a Comment
Thank you for taking time to leave a comment. Your comment will be published after it has been moderated. All SPAM is deleted by Blogger.