
Quilt Layering and Basting

 The first process we need to learn before we start quilting is layering and basting the quilt. I do not wash the fabric before I quilt. In my opinion, the shrinking that occurs with the first wash AFTER quilting makes the quilted sections stand out better. You may wish to iron the fabric if it's very creased or wrinkled. I did not iron this fabric, for the sake of time, and it still turned out well as you can see in the image below, which shows the finished product of the layering and basting process. Please read all the instructions for this tutorial before you begin.

                                       Layered and basted quilt

This process doesn't take long, but it is an important step before quilting can begin. Read my hand-quilting tools post first if you haven't done that yet. Then you can begin this process. Again, for this first lesson, we will be hand quilting a print. Spray basting saves a lot of time, but it does need to be done in a well ventilated area.

  • First, cut the back/bottom fabric so the edges are squared up. 


  • Second, cut the top/front fabric so its edges are squared up. It should be 1 1/2 to 2 inches shorter from each edge of the backing, because the backing will also serve as our binding when we finish the quilt. 


  • Cut the batting (or fleece if you've decided to use that in the center of your quilt) slightly larger than the back fabric. Lay it on top of the back fabric. The printed (right) side of the fabric should be lying against the flat surface it is on.


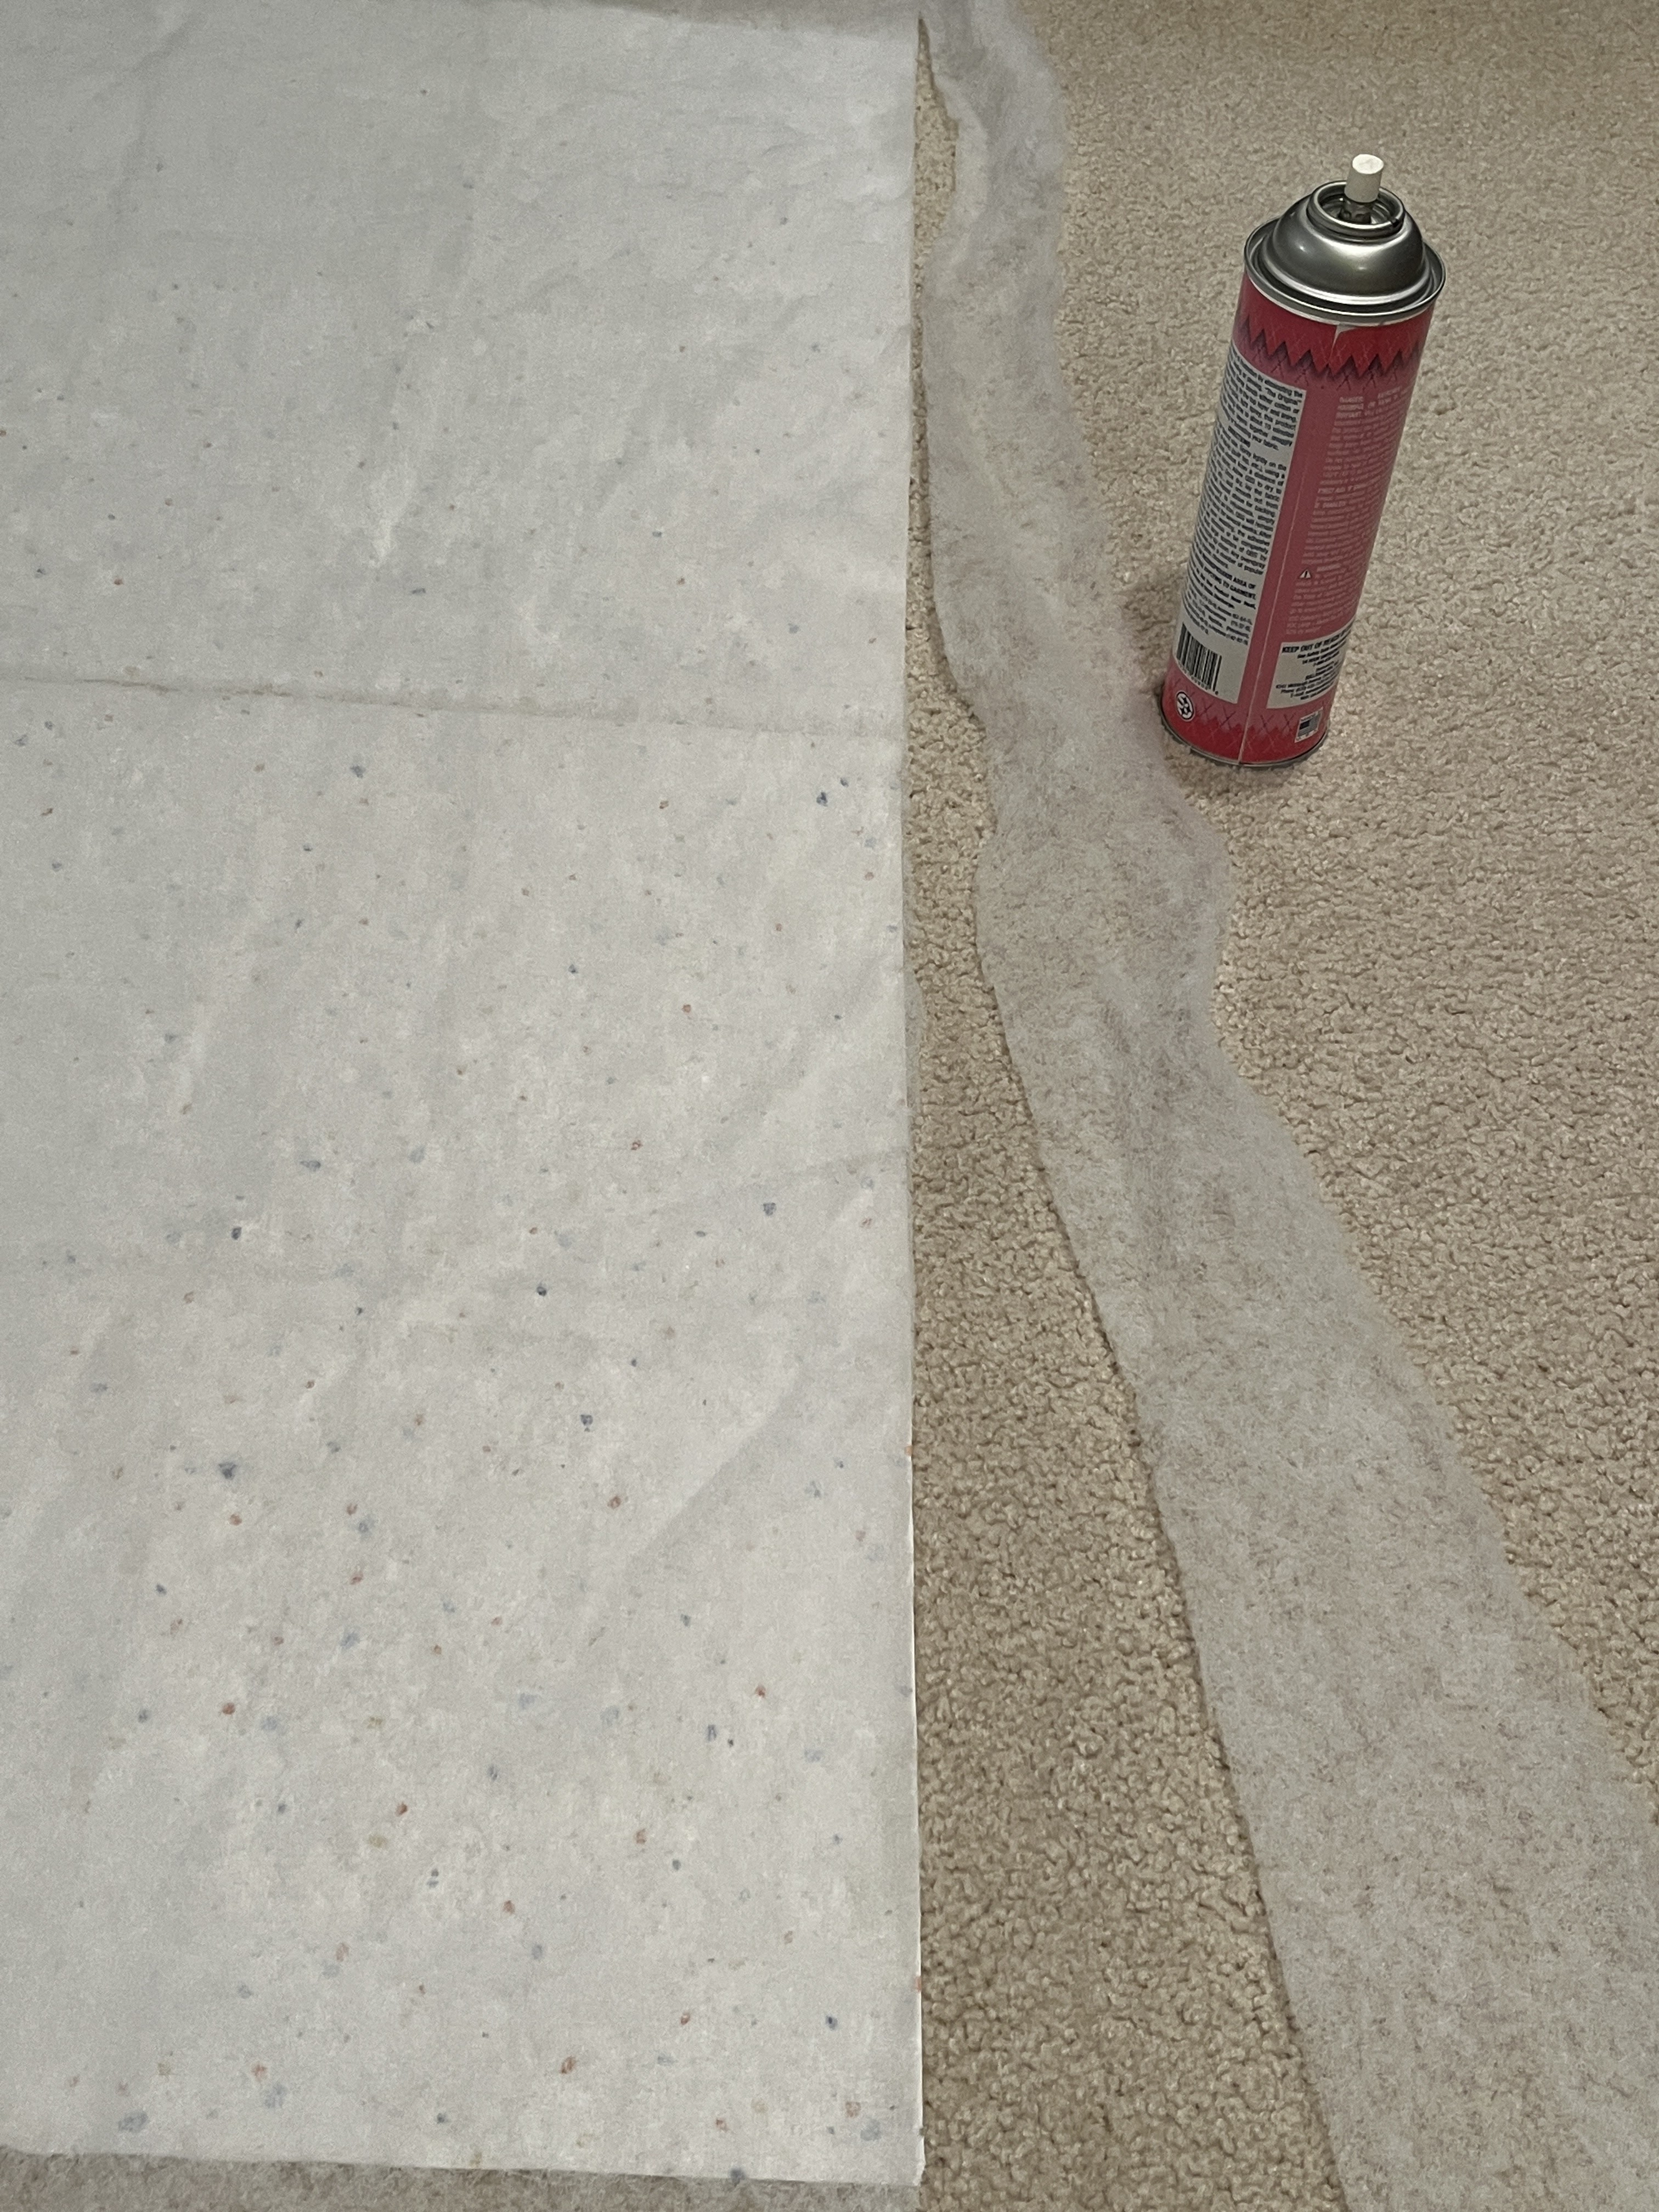
  • The next step is to pull the top half of the batting down to reveal the non-printed (wrong) side of the back fabric. Spray the basting onto the fabric. Then place the batting back over the fabric and firmly press it with your hands so that it adheres to the back fabric. It may not be a strong adhesion because quilt basting allows for re-adjustments. But it will hold the fabric and batting together good enough for quilting the layers later. AND the basting does wash out when you wash the quilt after completion. 


  • Next, pull the bottom half of the batting up so you can spray the basting onto the bottom section of the backing. After spraying, place the batting back over the backing and, with your hands, press the batting against the backing.


  • After that is completed, cut the excess batting so that it is even with the edges of the back fabric - as is shown in the next two images.


  • The next thing to do is to center the top fabric over the batting/backing combo. Repeat the basting process above with the top piece.


  • You're finished spray basting the layers of the quilt together.

I hope this tutorial was helpful. If you have questions, feel free to email me. I'll be happy to help.

#quilting
#womenhelpingwomen

Blessings,

Patricia

Comments

Other Posts You Might Like

Free Simplicity Cross Stitch Designs

I have been working on these free cross stitch designs for a couple of months, and I finally have the download ready to share with you. The free PDF download allows you to use for  personal items only , because this bundle (8 borders and 4 alphabet sets) of Simplicity cross stitch designs is a $50 value. Continue reading below to find out how to get a commercial license. Sample of some of the designs Drawing Simplicity  Block Border YouTube video of  6 stitches often used in Simply Making Life cross stitch designs If you wish to purchase the commercial license for $25, I have provided that button below the free download button. The commercial license allows you to make as many items as you want using these cross stitch designs. This does not give you rights to sell the PDF or any of the designs within the PDF. All details are inside the free PDF download. All rights belong solely to me regardless of any adjustments you make to these designs. Please give designer credit to Patri

Love Never Fails

 After Saul (Paul) was converted from Judaism, in which he was a trained priest, to Christianity on the road to Damascus, he spent a few years learning how to be a better person for God's new work in Christ. After God prepared him, Paul started preaching the Good News to people in different cities. One of those cities was Corinth in Greece. When Paul needed to correct - or praise - some teachings of the churches that were established in these cities but couldn't get back to them right away, he would write them letters. One of these letters (often called epistles) is called I Corinthians in the Holy Bible.  The message I want to bring to your attention today is what Paul was telling this church about love. He told them in verse 16:14 to, " Do everything with love. " (NLT) The NKJV read as, " Let all that you do be done with love. " What a difference we could make in the world if we could all follow this beautiful advice.  In the same Book of I Corinthians 13:

Vinegar to Remove Sticker Residue

My first vinegar cleaning test involved removing an old sticker and the residue that was on the bottom of a very old glass pitcher. I've had the pitcher in my possession for about 5 years and have no idea the full age of this pitcher. So, it seemed like a good item to try the sticker/residue removal test. In my head, the sticky residue is a germ catcher not to mention a plain old eye sore, so I actually try to get rid of that residue as soon as I remove any sticker myself. The idea is to remove goo from stickers, bumper stickers, labels, decals, etc. by repeatedly wiping with vinegar. So, first, I sprayed vinegar onto the sticker/residue section of the pitcher. I let it sit for about 5 minutes then scrubbed the section with a paper towel and my nail. The sticker part came off rather easily with some umph. I sprayed more vinegar onto the residue that remained and let it stand for another 5 minutes. With a hard push with my nail over the paper towel, most of the residue came off. So