
Next in this quilt series is quilt binding. As I've mentioned prior to this post, I like to make the back fabric and batting on my quilts slightly longer than the front fabric so I can use that to bind my quilt. This is my simple and easy alternative to stiff, thick, store-bought binding. The batting gives the binding added dimension that I like - just a little puff - without making the edges stiff and uncomfortable. You may prefer, as I do, to bind the 2 longer sides (when applicable) of the quilt first.
I hope you don't mind but I have several images and a couple more videos that will help you learn this technique. As with all tutorials, you will want to read through these instructions, and pay close attention to the pictures and videos below the instructions to make sure you understand the process before you attempt this. As always, if you have any questions, feel free to get in touch with me.

Corner of a quilt binding
- First, lay the quilt on your cutting mat.

- Second, align the ruler so that it is 1 inch from the edge of the front/top fabric of the quilt.

- Third, trim any excess batting and back fabric beyond 1 inches from the edge of the top fabric.

- Fourth, turn the backing so that its raw edge is touching the raw edge of the top fabric. Start in the center and work towards the outer edges. Use the sewing clips mentioned in the quilting tools post to hold the binding in place. Repeat this process on the opposite side.

- Below is one side that has been completed.

- Now, on both sides that you just folded, fold the backing over again so that the raw edges no longer show. This second fold will also hide the batting that shifted when you folded the binding the first time.

- One side folded twice.

- Two sides folded twice.

- The first video below will show you how to knot your thread and begin sewing the binding in place. The knot can be hidden under the binding fold or between the batting and back fabric as I showed you in the hand quilting post.
- To continue stitching the binding, insert the needle 1 or 2 mm from the last stitch, be sure the needle penetrates the back fabric, and bring it up 1 to 2 mm from the point you inserted it at.

- Stitches on the back of the quilt will be 1 to 2 mm in length.

- Finish stitching the first 2 sides of the binding.

- In this second video, I will show you how to knot the thread when only about 3 inches of thread remains and/or when you're finished binding one side of your quilt. The knot will be hidden between the batting and back fabric just like I showed you in the quilting post prior to this one.
- The last two sides will have mitered edges. Start clipping the binding in place, raw edge to raw edge, from the center as you did with the first two sides. BUT when you get to the outer edges, fold them over as shown below.


- Hold the folded edges in place with sewing clips.


- Fold the binding over again to hide raw edges and any batting that shifted with the first turn. Below, you can see the mitered edge of the binding. Repeat this turning process on the opposite side.


- All 4 sides are finished. Front view.
- Front corner finished.

- Back corner finished.

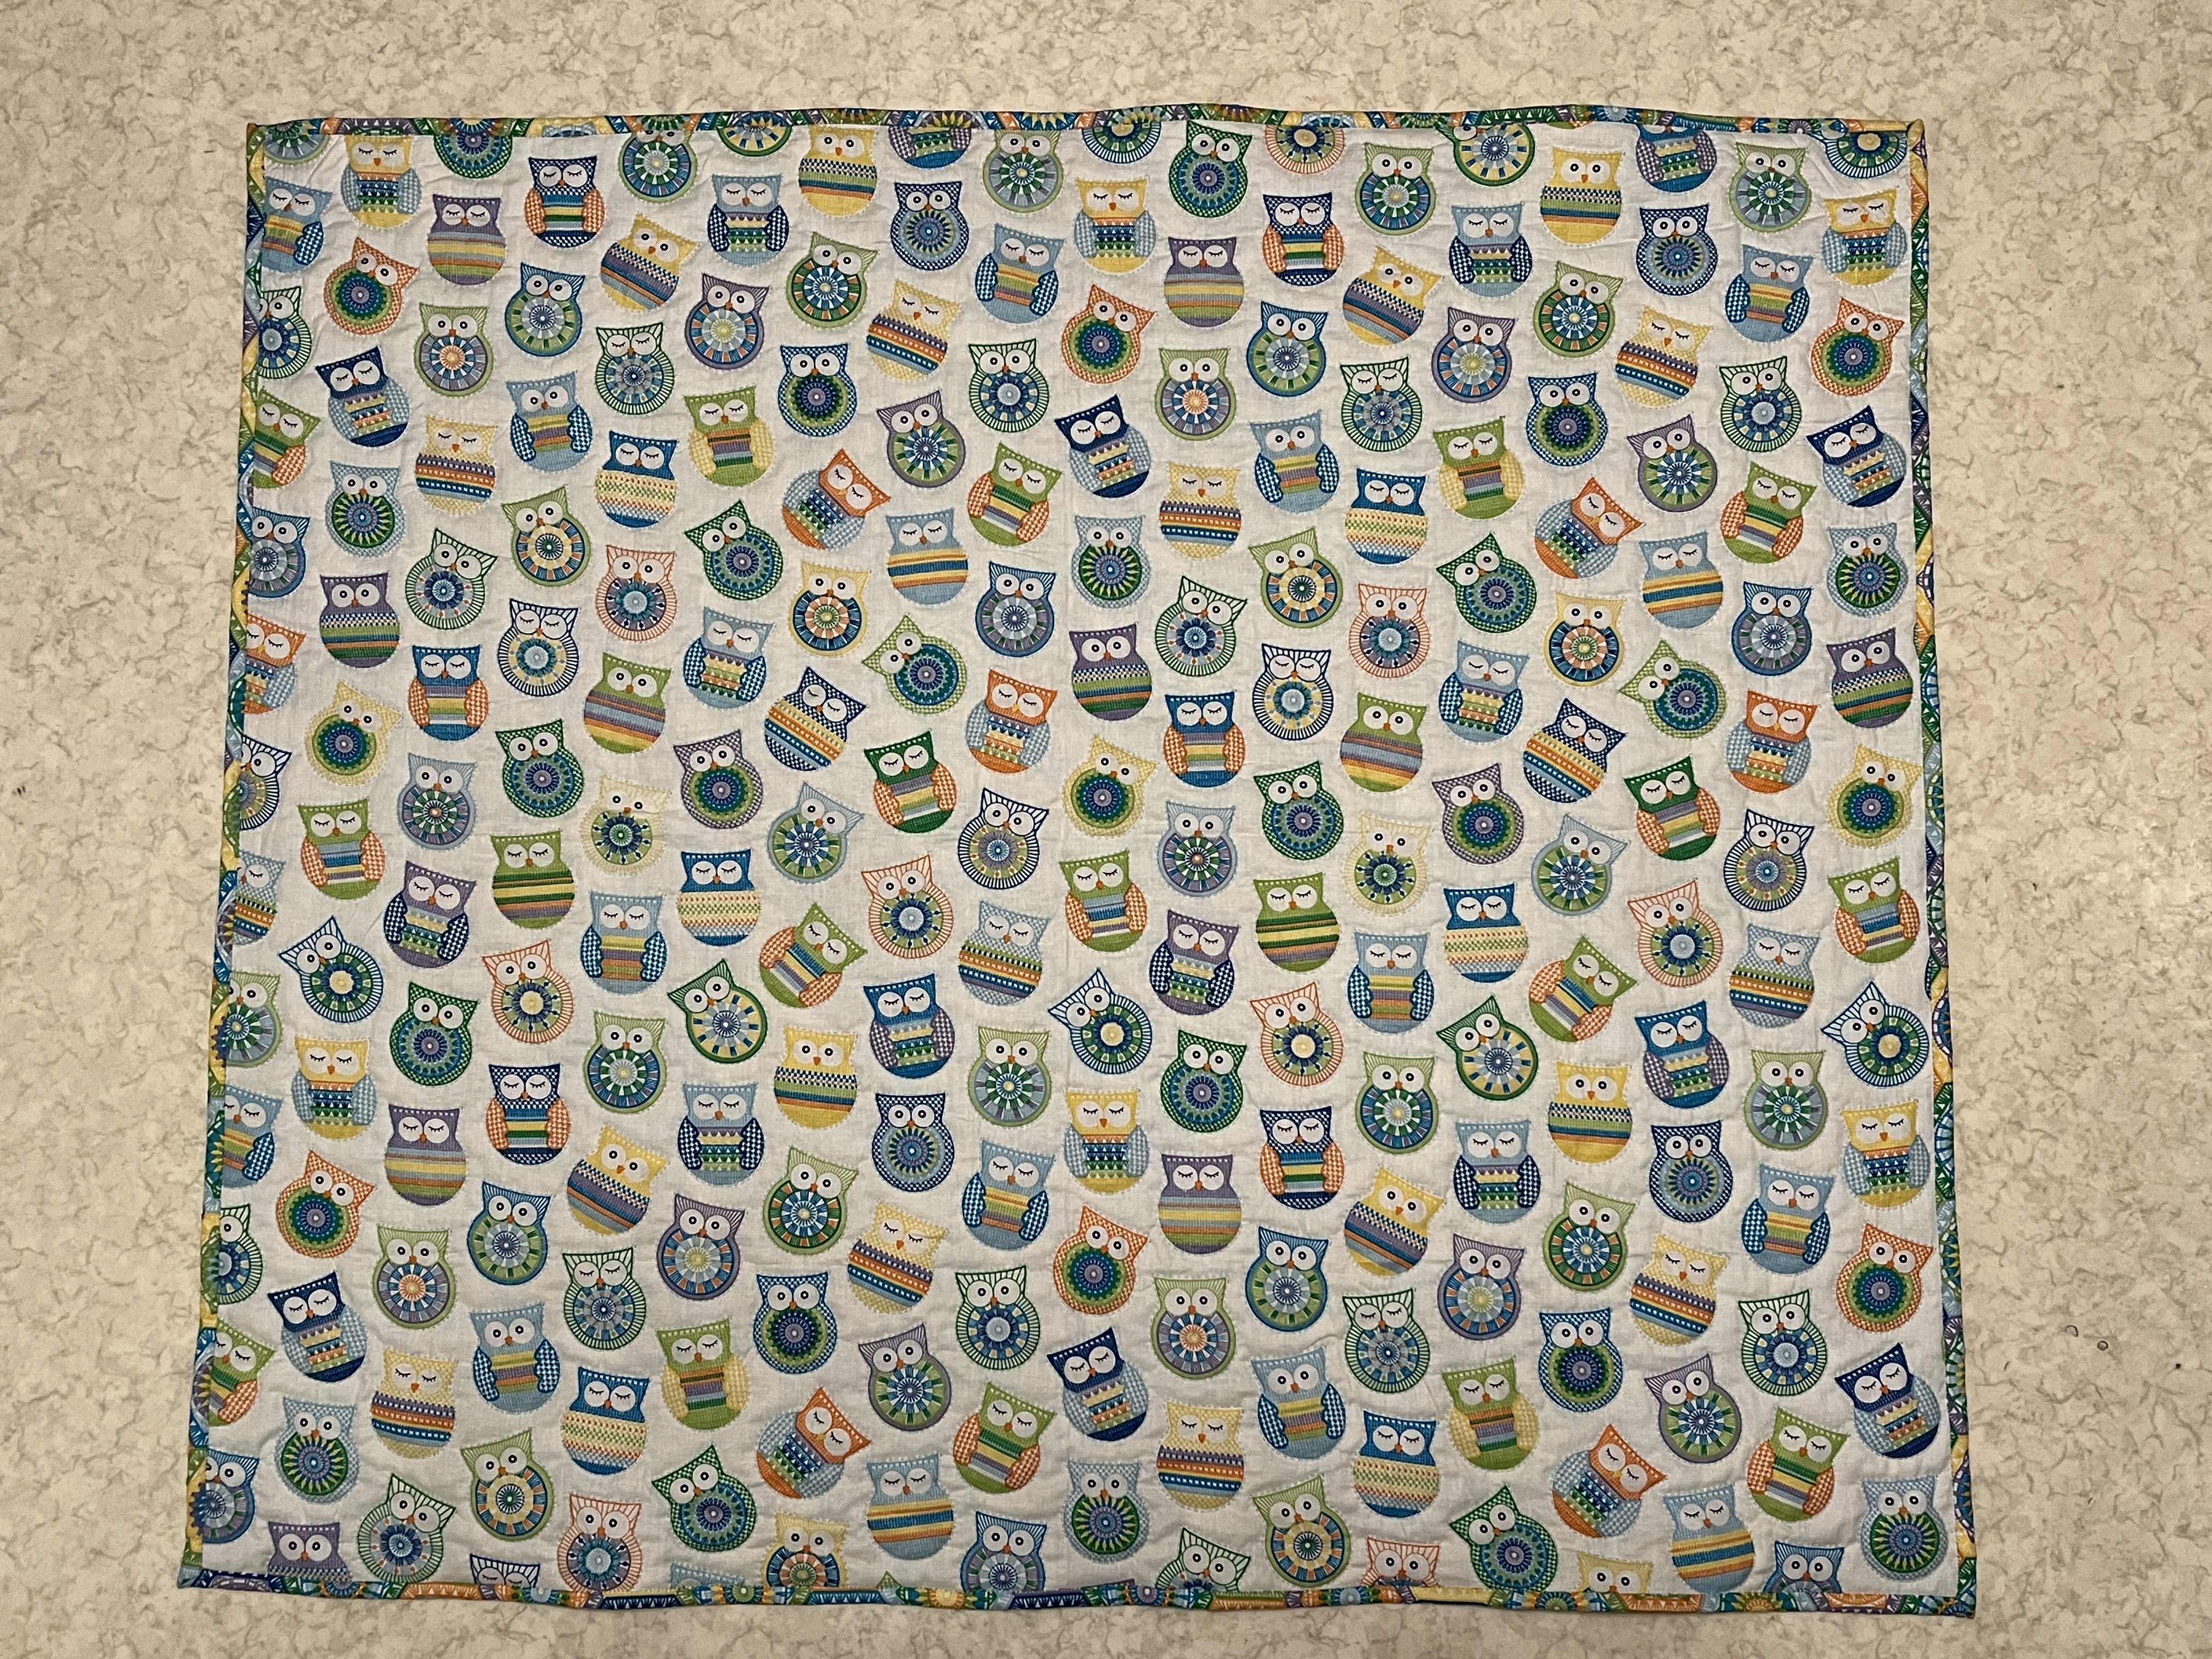
- Back view of all sides finished.

#quilting
#helpingothers
#womenhelpingwomen
Many blessings to your health,
Patricia
Comments
Post a Comment
Thank you for taking time to leave a comment. Your comment will be published after it has been moderated. All SPAM is deleted by Blogger.